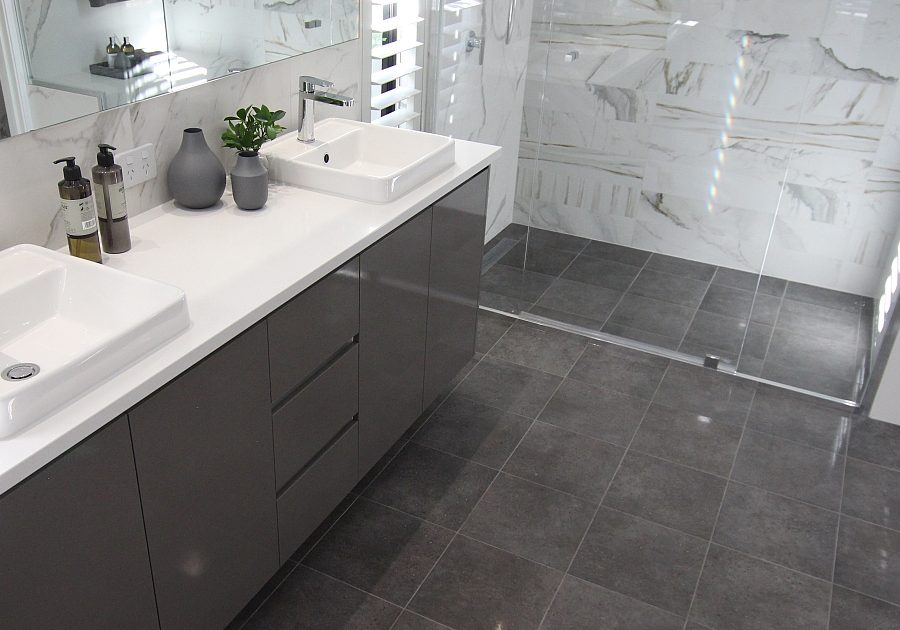
Tiling your bathroom might seem like a big ask, but with the right preparation and technique, it’s an exciting DIY project that can transform your space.
At Mandurah Tile & Stone, we’ve helped countless homeowners successfully complete their bathroom projects with our beautiful range of tiles. Here’s our step-by-step guide to help you achieve professional results.
Getting Started: Essential Preparation
Before you pick up a trowel, proper preparation is pivotal for a successful tiling project.
Gather Your Tools and Materials
You’ll need:
- Your chosen tiles (with 10% extra for cuts and breakages)
- Tile adhesive suitable for bathroom use
- Tile spacers
- Grout and grout sealer
- Notched trowel
- Tile cutter or wet saw
- Spirit level
- Measuring tape
- Pencil for marking
- Rubber grout float
- Sponges and clean cloths
- Bucket and clean water
Prepare Your Bathroom Surface
- A clean, level surface is essential for proper tile adhesion:
- Remove any existing fixtures, fittings, and old tiles
- Repair any damaged areas in the wall or floor
- Ensure the surface is completely clean, dry, and free from dust
- For walls, check they’re perfectly straight using a spirit level
- For floors, ensure they’re completely level and structurally sound

Step-by-Step Tiling Process
1. Plan Your Layout
Start by determining the focal point of your bathroom and plan your tile layout from there. This helps avoid awkward cuts and creates a balanced appearance.
Mark reference lines on your walls or floor using a spirit level to ensure your tiles will be straight. For bathroom walls, start from the bottom row and work upward.
2. Apply Adhesive
Mix your adhesive according to the manufacturer’s instructions. Using your notched trowel:
- Apply adhesive to a small area (about 1 square metre) at a time
- Hold the trowel at a 45-degree angle to create ridges in the adhesive
- Work in manageable sections so the adhesive doesn’t dry before you place tiles
3. Set Your Tiles
Starting from your reference lines:
- Press each tile firmly into the adhesive with a slight twisting motion
- Insert tile spacers at each corner to maintain even gaps
- Use your spirit level frequently to check that the tiles remain straight
- Wipe away any excess adhesive immediately with a damp cloth
4. Cut Tiles as Needed
For edges and around fixtures:
- Measure the space where a cut tile is needed
- Mark your cutting line on the tile
- Use a tile cutter for straight cuts or a wet saw for more complex cuts
- Smooth any rough edges with a tile file
5. Allow Proper Drying Time
Let the adhesive dry completely before grouting. This typically takes 24 hours, but check your adhesive packaging for specific instructions.
6. Apply Grout
Once the adhesive is dry:
- Remove all tile spacers
- Mix grout according to package instructions
- Using your rubber float, press grout into the joints at a 45-degree angle
- Work in small sections, wiping excess grout from tile surfaces with a damp sponge before it dries
- Allow grout to set slightly before final cleaning with a clean, damp cloth
7. Seal and Finish
After the grout has cured (usually 24-48 hours):
- Apply grout sealer to protect against moisture and staining
- Reinstall fixtures and fittings
- Apply silicone sealant around edges, fixtures, and where walls meet floors

Pro Tips from Our Experts
- Waterproofing: For wet areas like shower recesses, apply a waterproofing membrane before tiling
- Expansion Joints: Leave a small gap between tiles and walls to allow for natural expansion
- Tile Selection: Consider slip resistance for floor tiles and water resistance for wall tiles
- Underfloor Heating: If installing underfloor heating, ensure your tiles are compatible
Visit our showroom to explore our extensive range of bathroom tiles and speak with our knowledgeable staff. With over 25 years of experience in the industry, we can help you select the perfect tiles for your bathroom renovation and provide guidance on installation techniques.


